No products in the cart.
Shop all products
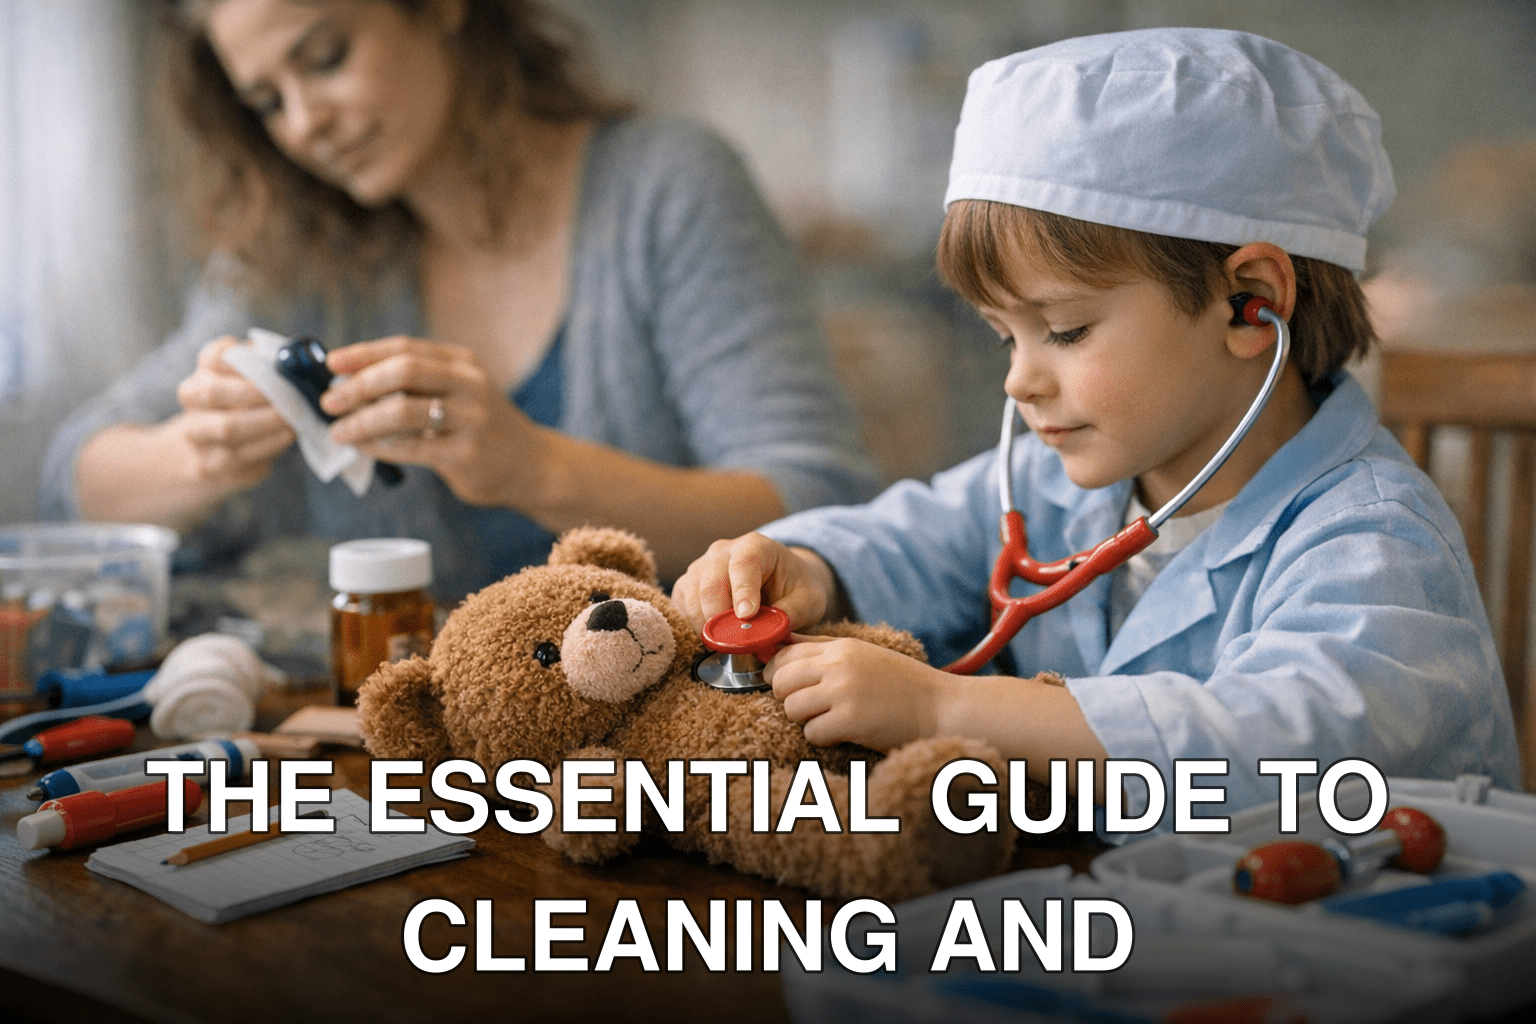
Imagine this: your child is engrossed in their pretend doctor play, checking teddy’s heartbeat with a stethoscope, scribbling “prescriptions,” and wrapping bandages around action figures. But then you notice—those once-bright tools are now grimy, sticky, and faintly smell like yesterday’s juice spill. Gross, right?
Here’s the problem: kids’ pretend doctor kits get dirty fast. Between sticky hands, carpet lint, and mystery crumbs (where do those even come from?), these toys can quickly turn into germ magnets if not maintained properly. And let’s face it—nobody wants to see Doctor Teddy operating in unsanitary conditions! Worse yet, neglecting regular cleaning can shorten the lifespan of these beloved kits, leading to cracked plastic or faded colors that scream “time for the trash.”
But don’t worry—it doesn’t have to be this way. With just a little effort (and some clever tricks), you can keep your kid’s doctor kit clean, safe, and ready for years of imaginative play.
In this guide, you’ll discover:
- The exact steps to deep clean every piece of a doctor kit without damaging delicate parts
- Simple maintenance habits that extend the life of these toys
- What most parents overlook—and how it could save you money in the long run
Let’s dive straight into it!
Why Most Parents Overlook Cleaning Doctor Kits—and Why It Matters
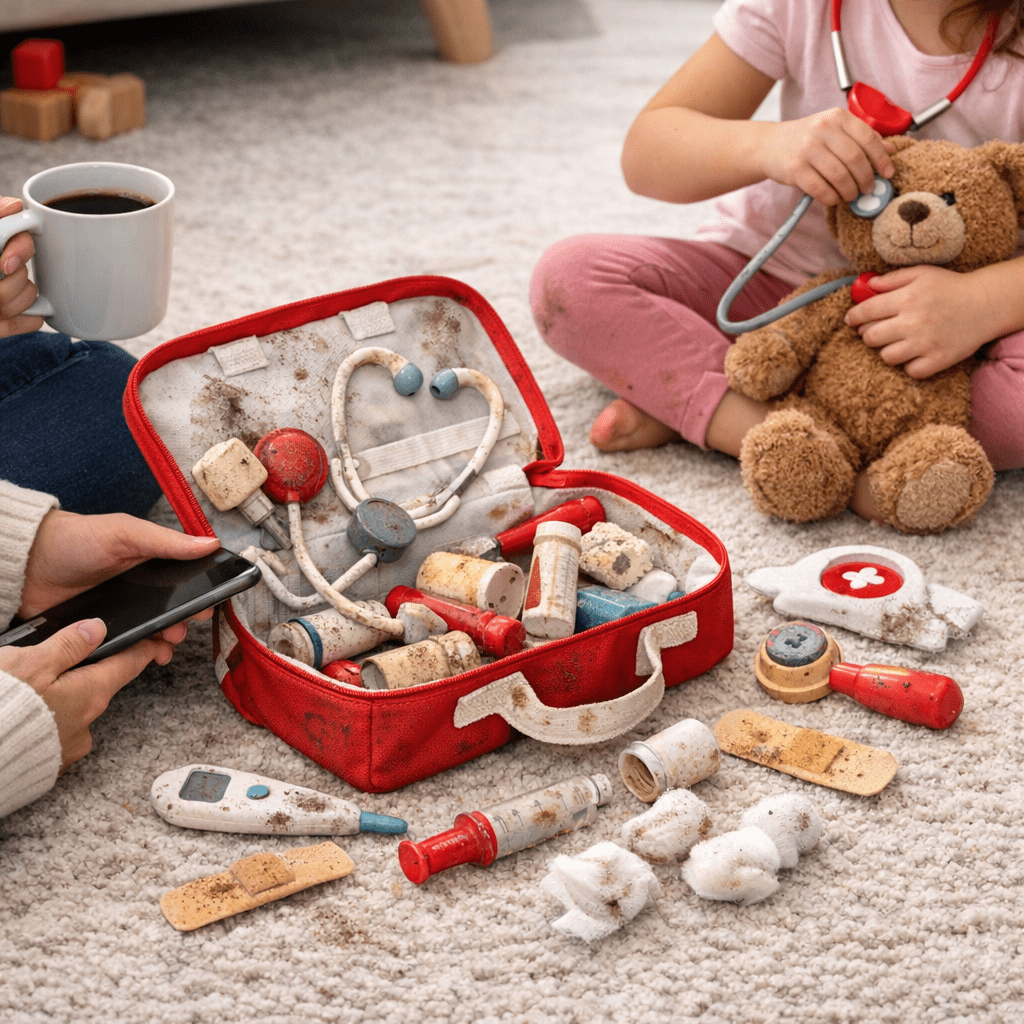
Here’s an uncomfortable truth: most parents don’t realize how filthy pretend doctor kits can get until they’re really gross. Maybe you’ve wiped down the surface of a stethoscope once or twice but ignored pieces like thermometers or syringes because they “look fine.” Sound familiar?
Here’s what many overlook: kids put these toys everywhere—in their mouths, on bathroom floors, under couches where dust bunnies thrive. Without proper cleaning routines, bacteria and grime build up fast—and by 2026 standards (hello post-pandemic world), we all know better than to ignore hygiene when it comes to anything kids touch constantly.
The cost of ignoring this? More than just germs—it could mean replacing kits more often due to broken or discolored pieces. Plus, teaching your child about cleaning their tools reinforces good habits beyond playtime. Think about it: would you trust a real-life doctor with tools that haven’t been cleaned in months? Exactly.
Step-by-Step Guide: How to Deep Clean Every Part of a Pretend Doctor Kit
1. First Things First: Sort and Inspect
Before you start scrubbing away like some overenthusiastic surgeon-in-training, take inventory of what you’re working with. Lay out every piece from the kit—scalpels (plastic ones!), otoscopes, bandages—everything.
Look for signs of wear and tear:
- Cracked plastic items? Toss them—they’re breeding grounds for bacteria.
- Stickers peeling off? Reapply new ones after cleaning.
- Missing pieces? Time for a replacement set or DIY fixes.
Key takeaway: Sorting first saves time later—you won’t accidentally soak something electronic or fragile.
Also worth reading: Los 7 mejores sets de maquillaje para niñas
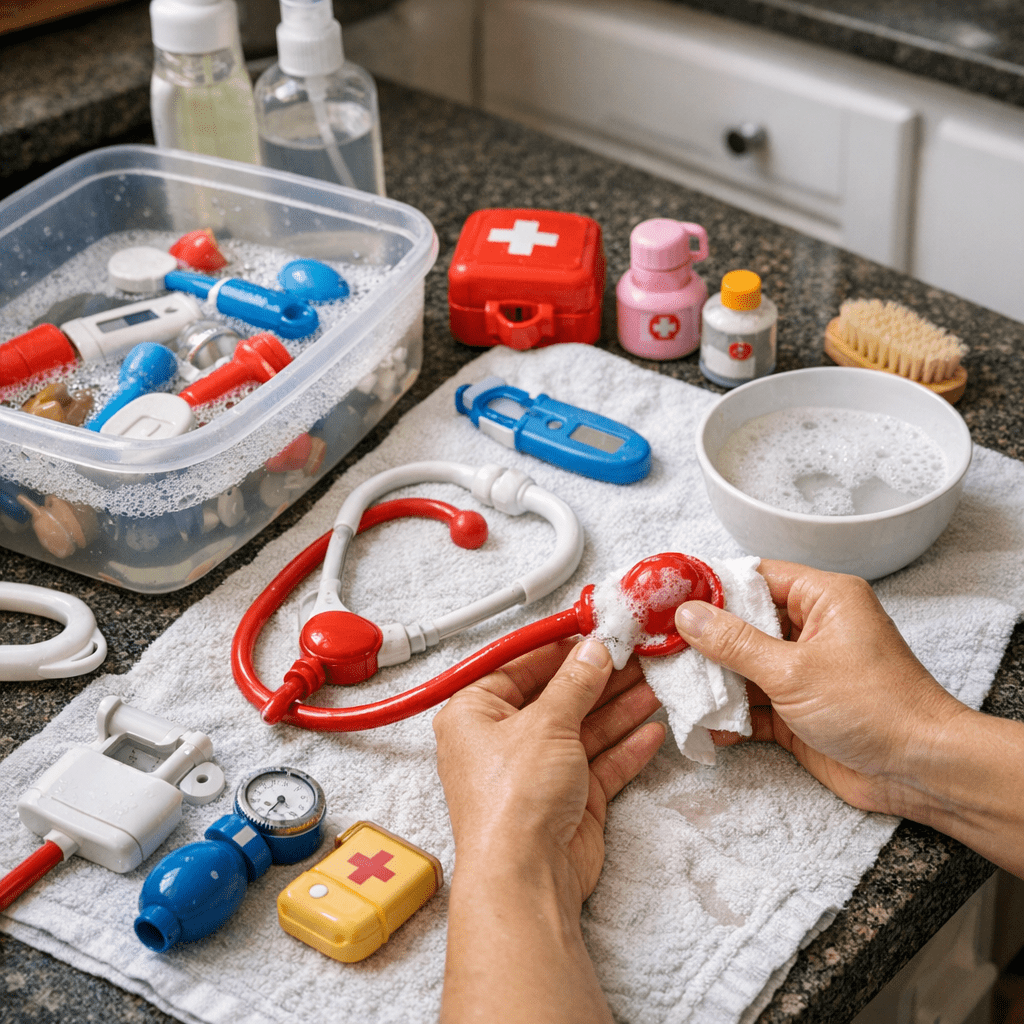
2. Wash Non-Electronic Items with Warm Soapy Water
For any non-electronic parts made from plastic or rubber (think thermometers or reflex hammers):
1. Fill a basin with warm water and mild dish soap.
2. Submerge items fully and let them soak for 5–10 minutes.
3. Use an old toothbrush to scrub crevices where grime hides (hint: syringes often trap gunk inside).
4. Rinse thoroughly under running water.
5. Air-dry completely before reassembling.
Pro tip: Avoid harsh chemicals like bleach—they can discolor plastic over time.
3. Wipe Down Electronics Carefully
If the kit includes light-up tools or battery-operated devices like beeping heart monitors (these are popular in 2026), don’t submerge them! Instead:
- Dampen a microfiber cloth with rubbing alcohol (70% concentration works best).
- Gently wipe surfaces while avoiding buttons or battery compartments.
- Use cotton swabs dipped in alcohol for tighter spots.
Common myth: You might think electronics don’t need frequent cleaning since they aren’t submerged—but trust me; sticky toddler hands spare nothing!
4. Don’t Forget Fabric Accessories
Does your child’s kit include fabric items like lab coats or toy bandages? Here’s how to handle those:
1. Check labels first—many fabrics are machine washable on gentle cycles.
2. For stains, pre-treat with laundry detergent before washing.
3. Air-dry instead of tossing into the dryer—heat can shrink tiny accessories beyond use.
Related guide: Cómo iniciar un negocio de dropshipping de
Fabric items are often overlooked but tend to collect a lot more dirt than you’d expect (especially if they’ve doubled as makeshift superhero capes).
Maintenance Habits That Save You Money
Teach Your Kid Mini-Cleanups After Play
One simple habit can make all the difference: teaching your child to wipe down their tools after each play session using baby wipes or damp cloths takes less than five minutes but drastically reduces buildup over time.
Ask yourself: would you prefer spending five minutes daily—or hours deep-cleaning later when everything feels nasty?
Store Strategically
This one seems obvious but gets ignored constantly: storage matters! Piling everything into an open toy bin invites dust accumulation faster than storing sets in zippered pouches/containers designed specifically for toy organization.
Looking for affordable options? Check out IKEA storage hacks shared widely online during early 2026—they’re perfect!
Common myth: Leaving toys out “air dries” them better post-cleanup… Reality: it mostly attracts dust back onto freshly cleaned surfaces!
Myth-Busting Misconceptions About Cleaning Toy Kits
Myth: You only need monthly cleanings since kids don’t actually use these toys every day…
Reality: Germs don’t wait till month-end schedules start piling up earlier…